|
|
 |
|
|
Battle Hardening for 1000 RPM gearmotors |
|
|
|
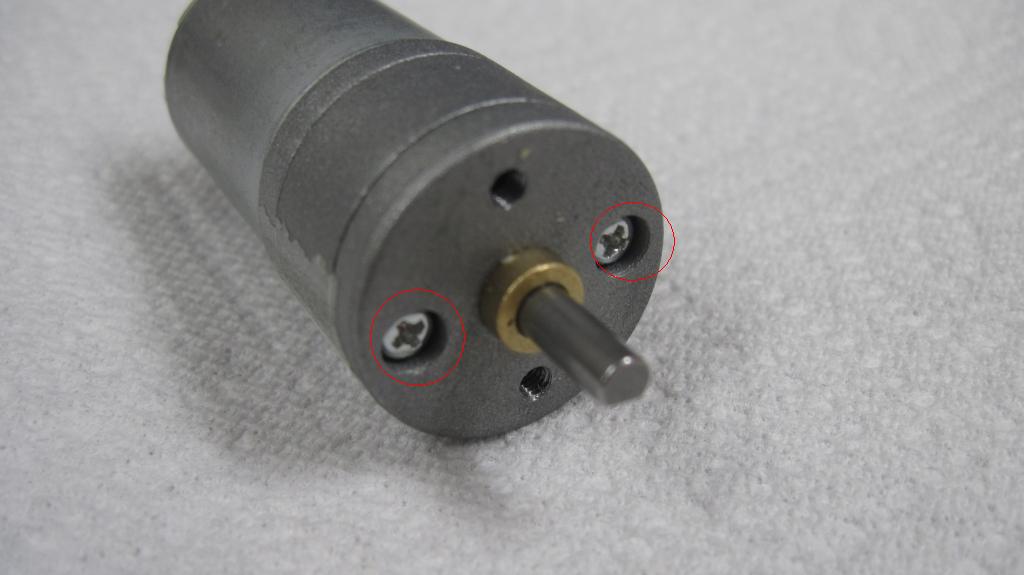
The 1000 RPM motors, like nearly all the cheap gearmotors on the market, needs a little modification to make them tough enough for combat use.The main problem is that the screws
that hold it together are not loctited, and will quickly vibrate loose and the motor and gearbox will come apart. I originally developed a process I call "battlehardening" for some 24mm Banebots motors, and it works
just as well on my 1000 RPM motors. |
|
|
|
|
|
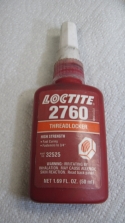
I use loctite 2760, this one small bottle has lasted me a long time. It works well in this application. |
|
|
|
|
|
|
|
|
|
|
|
|
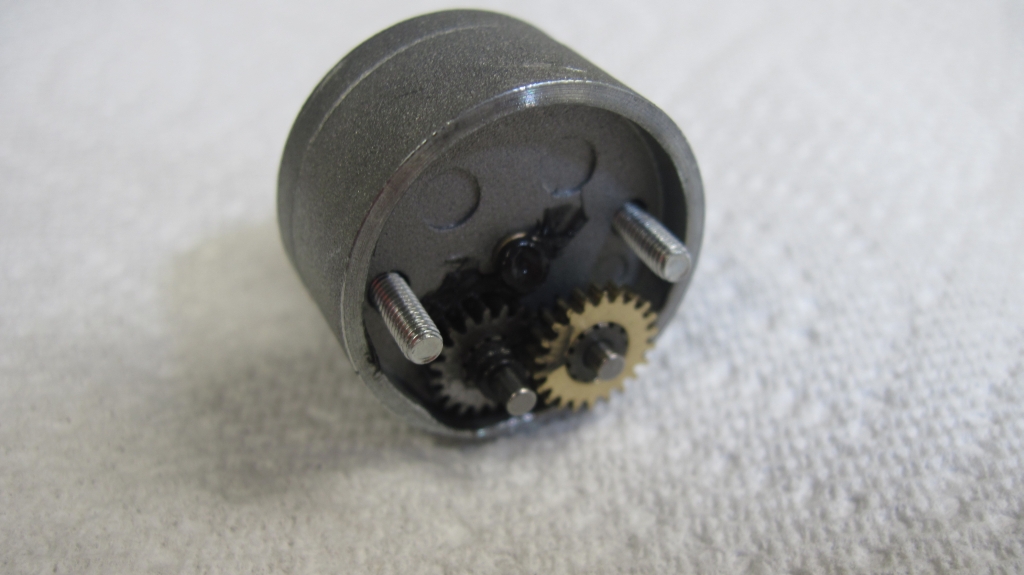
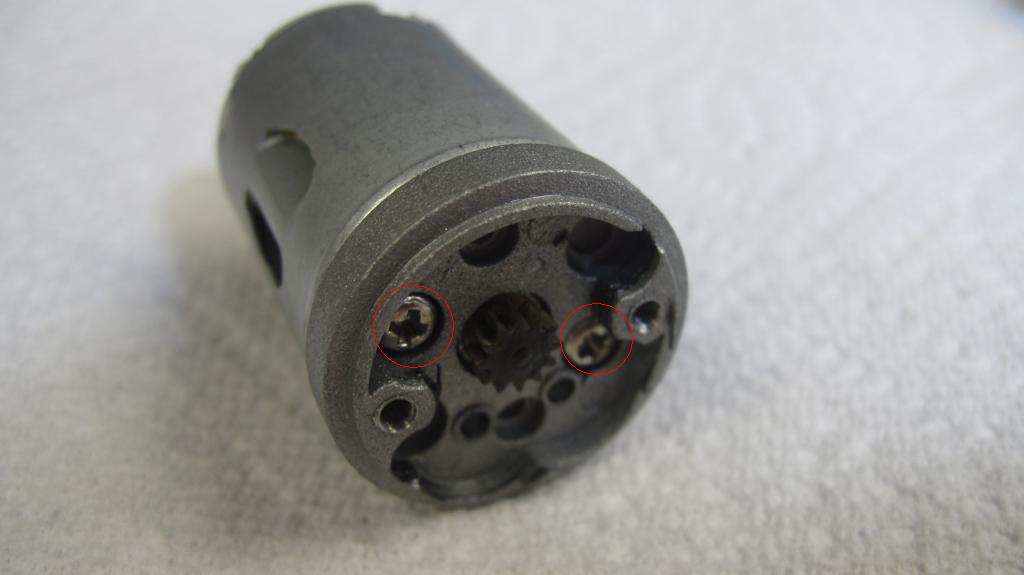
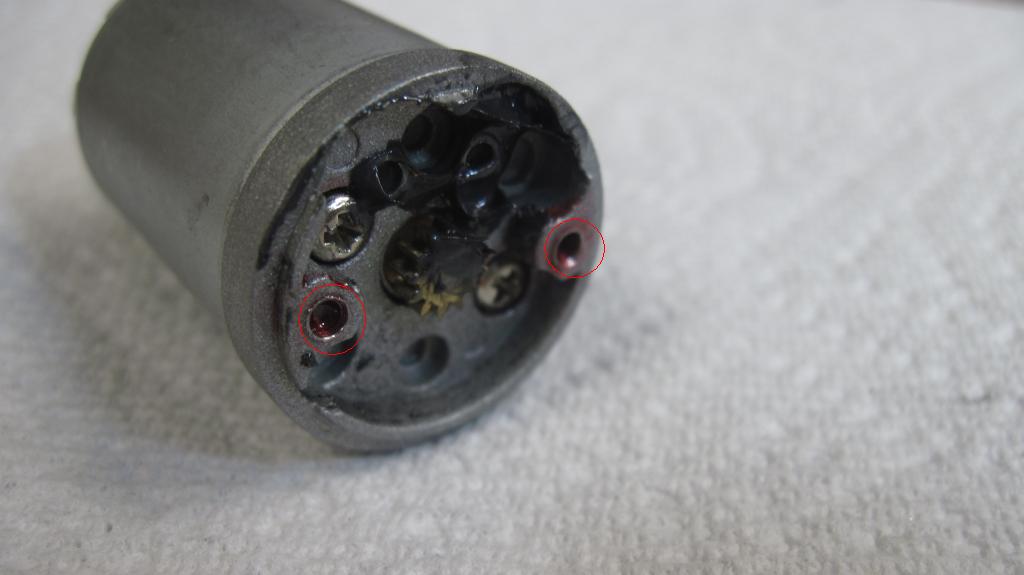
Add a little locite to the two threaded holes as shown, add a little light grease to the gears then reassemble the gearbox onto the motor. |
|
|
|
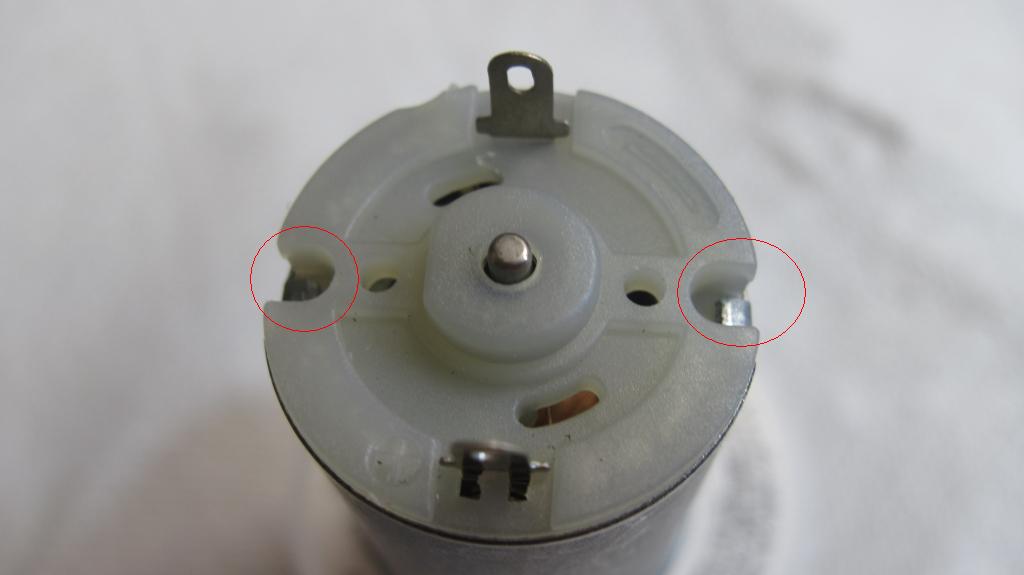
Next make sure the metal tabs that hold the rear bellhousing of the motor to the can are fully bent over. I use a small hammer and a flat bladed
screwdriver to fully flatten them. I've had the bellhousing come loose before I started doing this step and none since. |
|
|
|
The above steps are likely enough to make sure your 1000 RPm motor stays together through most fights but I go a few steps further to ensure they do. The
next step involves using "Goop" or "Shoegoo" adhesive. |
|
|
First I smear a layer of Goop onto the outside of the gearbox and the front half of the motor. You can use a little less than shown in the picture, a
thin layer is all thats required. |
|
|
|
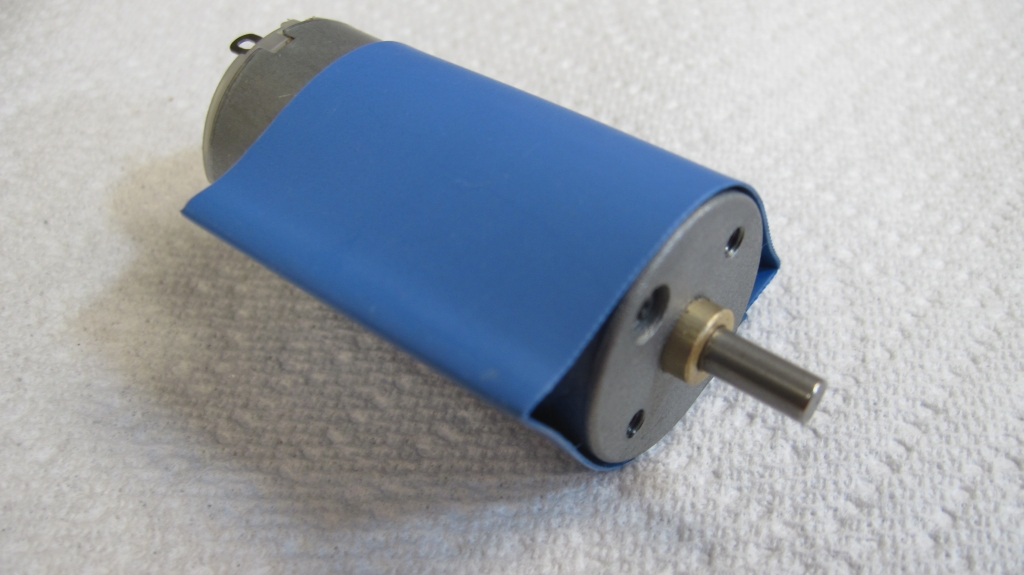
Next slide a length of heatshrink tubing over the gearbox and the front half of the motor and shrink it down so that its a tight fit. The heatshrink and
the adhesive will keep the two part together even if the screw that secure the motor do come loose. |
|
|
|
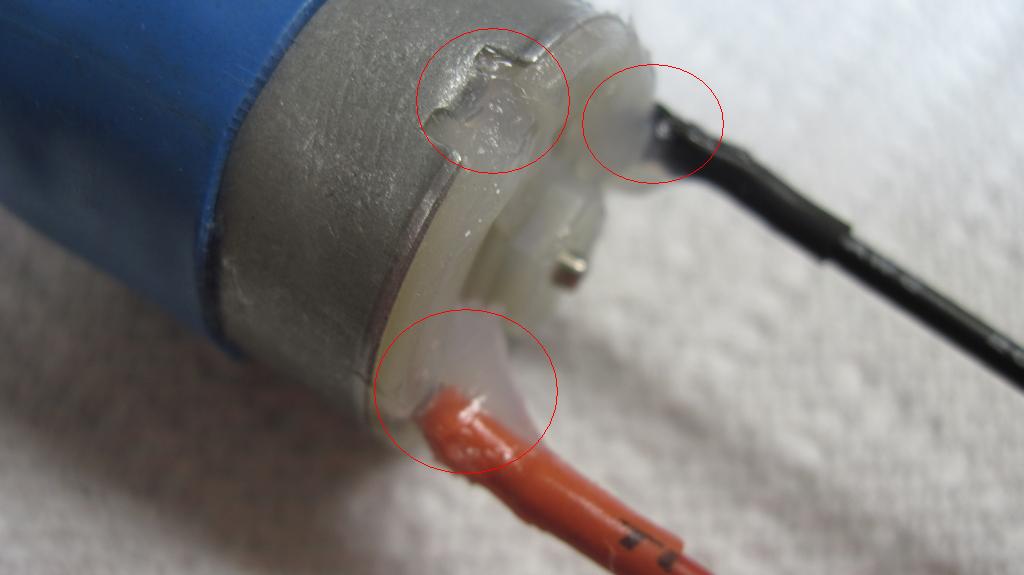
After adding the wires (and the capacitor if wanted), I add a little more Goop around each terminal to support the leads. This takes the strain off the
terminals on the motor. I also add a little into the recesses for the tabs that secure the bellhousing. |
|
|
|
|
|
Whilst this article specifically refers to the 1000 RPM motors the same principles can be applied to any motor/gearboxes. Its a bit time consuming and messy but it might just
make the difference in that big fight! |
|