|
|
|
|
|
|
|
|
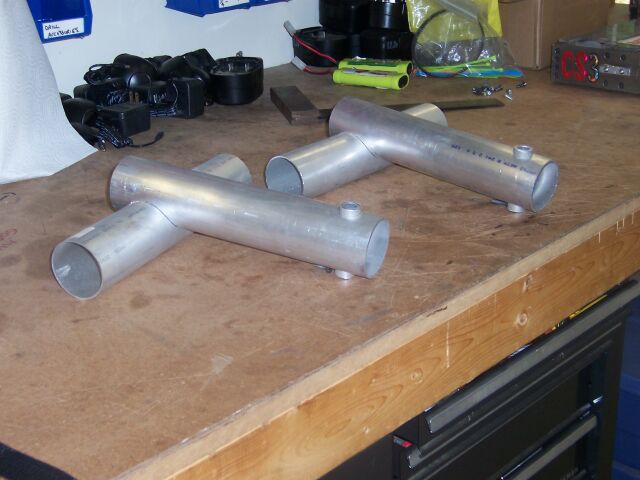
I finished up the second set of tubes and cut 4" sections of the 7/8" diameter tubing which will be used to mount the axle bearings. |
|
|
|
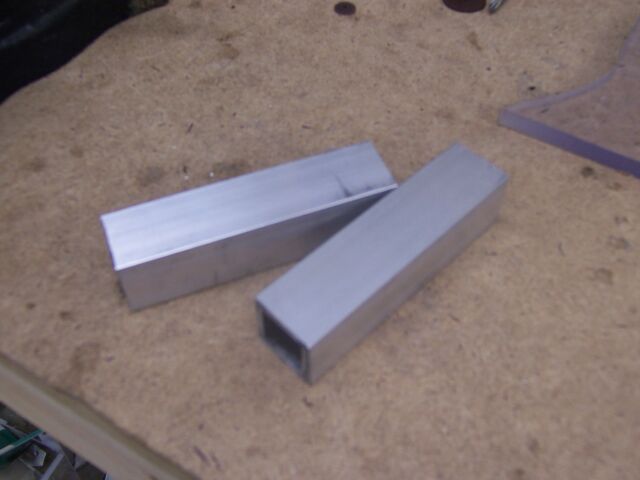
McMasters just delivered the 1" thick walled square tubing that will be used to form the Motor mounts, a couple of steel axles and some Bronze
"Oilite" type flanged bushes. |
|
|
|
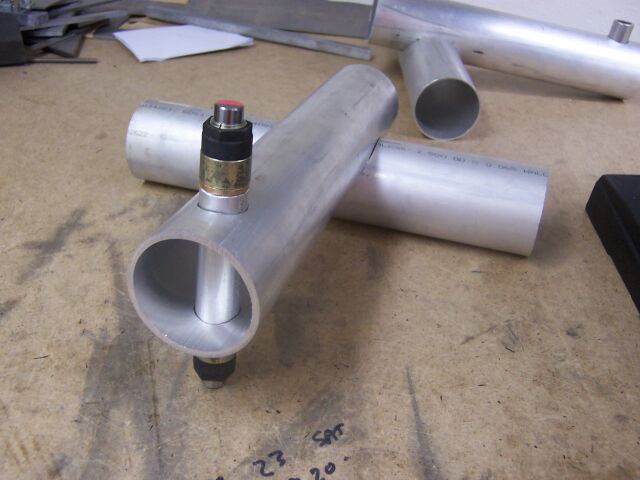
A trial assembly of the parts that will make up the axle that they all fit together OK. The Bushes are too loose a fit into the 7/8" tubes but we'll
find a way of tightening them up. |
|
|
|
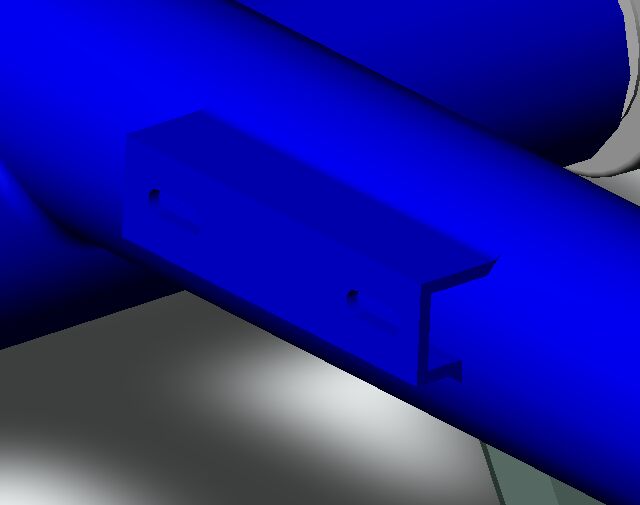
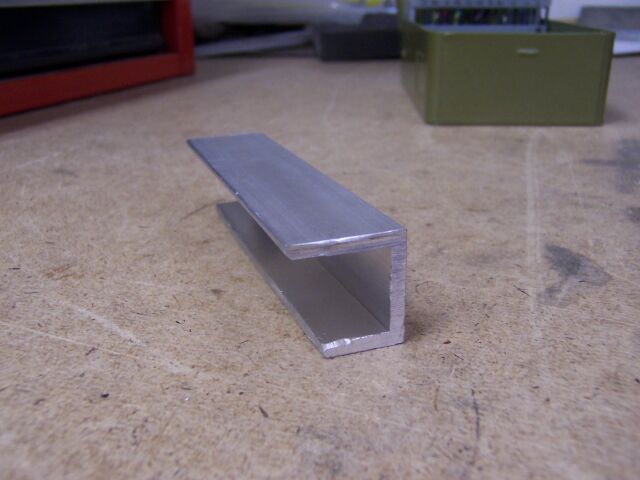
The last major part of the chassis that needs to be welded on is the motor mounting bracket. This is formed from a four inch section of the 1" square
tubing. |
|
|
|
I cut the 4" section using a metal cutting blade in my mitre saw. I can't really advise this method as its hard the clamp the tube properly so it not
very safe. Its very noisy and messy as well as you use wax as a lubricant. |
|
|
|
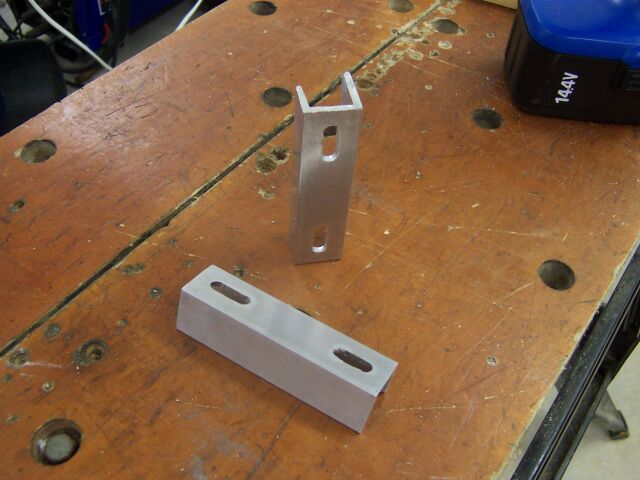
I then cut away one side of the tube using my trusty Dremmel clone. It took about 12 disks to do the two tubes. A little filing later the parts fit
perfectly. |
|
|
|
Slots were created by drilling multiple 1/4" holes and filing them together. These will allow adjustment of the weapon drive belt by moving the motor
back and forth. |
|
|
|
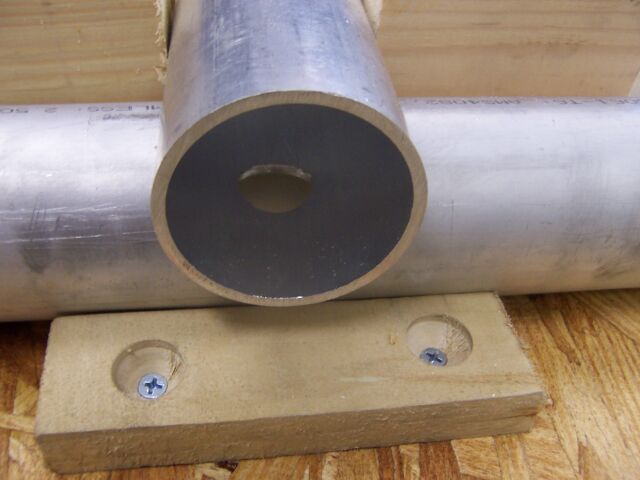
In order to allow wires to pass between the two main tubes I used the 7/8" holesaw to cut a hole in the bottom of the main tube. An grommet will
be used to protect the cables from chafing where they pass through. |
|
|
|
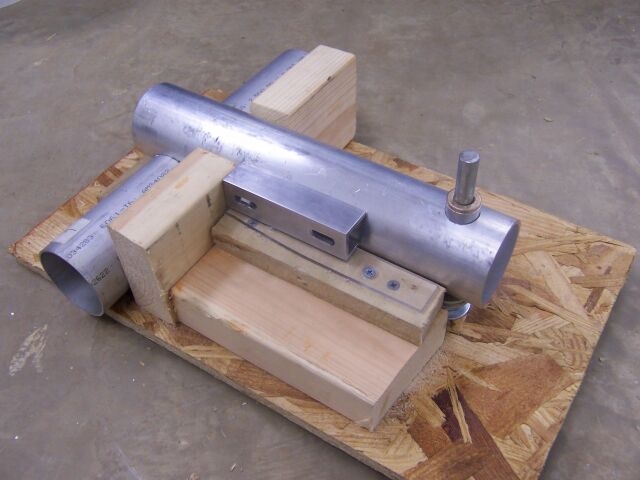
Its important that the chassis is welded up correctly with the weapon axle perpendicular to the rear tube etc. A 1/2" bolt and some wood scraps form a
jig that should allow the initail tack welds to be made. |